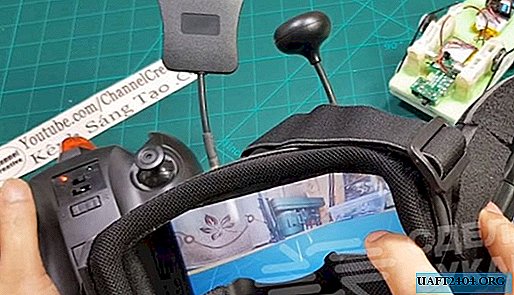
Today, radio-controlled toy cars equipped with a compact action camera, which allows you to shoot high-quality video while moving, are widely popular. That's just such "aggregates" of big money. However, there are always alternatives - for example, you can make such a toy with your own hands. Believe me, this is not so difficult.
What materials will be required?
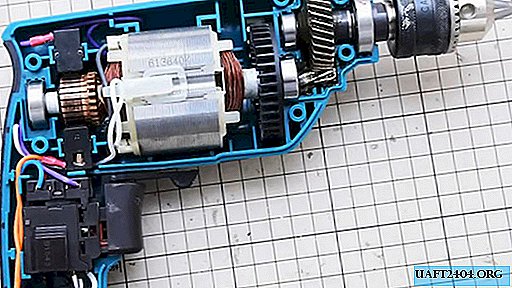
First of all, you need to purchase a new or used remote control radio for a toy car and a motherboard. Still need gear drives made of plastic, a miniature action camera, as well as power supplies - in this case, compact 3.7V batteries, which are usually used for Bluetooth headsets and other small equipment.
Well, of course, you will need an additional "trifle" (steel rods, wheels, rubber bands, LEDs and other elements), without which a home-made radio-controlled car will not fully meet the operational characteristics of its prototype - the popular FPV RC typewriter.
The process of making a mini car
First you need to cut two rectangles from a sheet of extruded polystyrene foam: one with dimensions 6x10 cm, the second - 6x12 cm. They need to be glued together. After that, using hot melt adhesive, it is necessary to attach steel rods to the bottom of the base, on which the wheels will be installed.

Then the remaining parts are mounted in stages: two gears, a control motherboard, batteries, an action camera and LEDs. You can see the detailed assembly process of the machine in the video on our website.

