Share
Pin
Tweet
Send
Share
Send
Tile Dismantling
The first stage of work is the dismantling of tiles that have cracks or voids underneath.
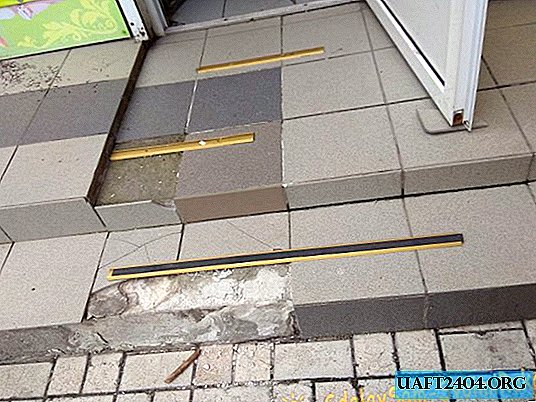


Often, with inaccurate dismantling, neighboring tiles can be damaged, so this work must be done carefully. Only tiles that are firmly glued to the surface must be left. When dismantling you will need a chisel and a hammer. You can also use small chisels to beat the old mortar around the edges of the tiles. All concrete which is under the dismantled tile, and which is easily detached, must also be cleaned. When the surface is prepared for laying the tile, immediately before that, carefully sweep the debris with a broom, and then prime the area where the tile will be laid.


Laying tiles
Laying tiles begins at the top of the steps. It is best to use non-slippery tiles for exterior decoration, as regular floor tiles are slippery and can complicate movement in winter, and stair climbing is an area of increased risk of injury. For laying, an adhesive solution mixed with water is used. If the layer is too large, it is best to first fill in the screed from ordinary cement mortar, and after that lay a tile on a thin layer of glue.
Laying tiles begins with the threshold. Glue is applied to the surface, as well as a thin layer on the tile. It is necessary to make a slight bias in the direction of the steps, so that water flows from the building. To do this, use the building level. Select a specific degree of slope, and stick to it on each row of tiles.

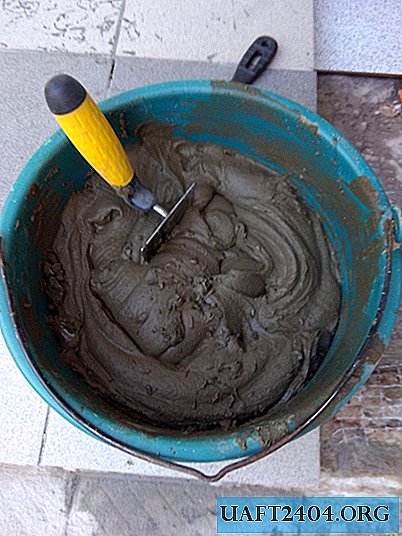


You can tap the tiles with a rubber mallet, or with your hand. The solution that will protrude between the seams is wiped with a damp sponge.

Therefore, you must have a bucket with water and a sponge. When laying subsequent slabs, it is necessary to use special crosses and wedges so that the seam is the same and there are no offsets. Install two crosses on each side of the tile.


Tile trimming is carried out by a grinder, or a special machine. Try to accurately mark the size for cropping, so as not to spoil the tile.


After the lining of all horizontal surfaces of the threshold and degrees is completed, you can proceed with the laying of vertical surfaces (risers).


After you finish the facing of the steps, all the seams must be covered with a special putty. She is also divorced with water, and with a spatula rubbed in the seams. When performing this step, it is also necessary to have a bucket of water with you, and a sponge to immediately wipe the grout, which will stain the tile. It is better to do it right away, because after it dries it will be harder.


In order to strengthen the front corners of the steps, you can fix a metal corner. This is important, since this area is most susceptible to damage, and more often the peeling of the tile starts from the corners. Therefore, it is necessary to measure the appropriate length of the corner, and cut it off with a grinder. Then a hole is drilled with a special drill for tiles, and is fastened to the bottom surface with the help of quick installation. In addition, in order to better fix the corner, you can additionally coat it with silicone.


Cladding stairs with tiles is not a complicated process. Its main difficulty is that you need to do a lot of trim. However, this requires no longer skill, but accuracy, and accuracy in size.
Share
Pin
Tweet
Send
Share
Send


