Share
Pin
Tweet
Send
Share
Send
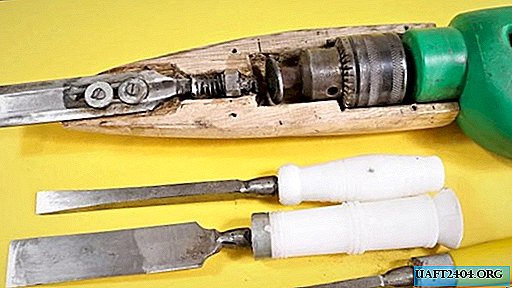
There was a need to process a large piece of wood, for example, to create a sculpture for a garden or an armchair from a stump.
An ordinary chisel, all this will be done for months. A branded tool is not cheap, you have to go somewhere and buy it. After finishing work, it will be useless to lie and gather dust for years.
But in a home workshop, you can make the necessary tool yourself. If there is a medium power drill, welding, emery and grinder with a cutting disc, then go ahead, get to work!

Getting to the manufacture of electric chisels
We take a steel bar with a diameter of 12 - 14 mm., The main thing is that it is clamped in the cartridge of an existing drill.

We cut off a workpiece with a disk 45 - 55 mm long. At one end, we make a flat cut at an angle of approximately 60 degrees to the longitudinal axis of the bar.

We select a washer with a thickness of 3 - 5 mm., With an outer diameter of 22 - 28 mm. and internal 10 - 16.
We weld the washer symmetrically through its hole to the cut oblique end of the bar. For reliability, you can scald the washer from the opposite side.
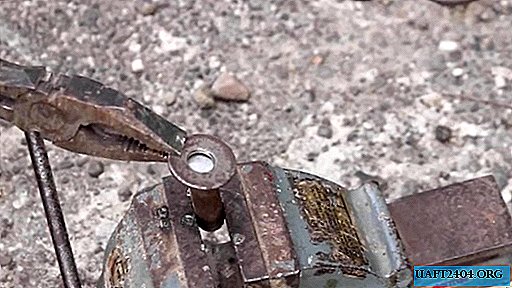

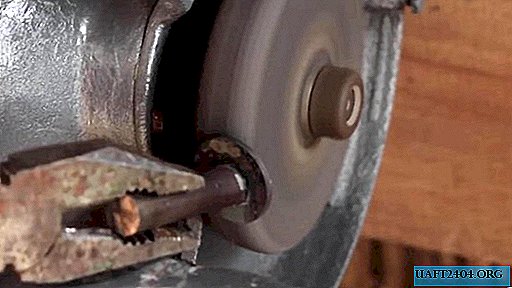
Immediately after welding, it is advisable to heat the part by dipping it in water. We clean the end surface of the washer on emery - it will be working, so the operation must be done as accurately and cleanly as possible.

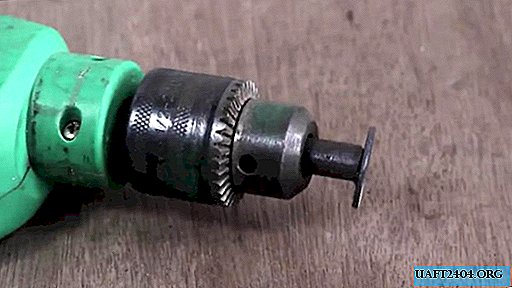
We install the resulting part in the drill chuck and tightly clamp it.
We fix in an vice an old, but working and sharpened chisel.

In the middle of the blade closer to the shank, we make a cutting groove in the longitudinal groove, 40-50 mm long., 3.5-4 wide.

For the case of the created tool, we take a wooden block with dimensions of 80 X 80 x (250 - 300) mm.
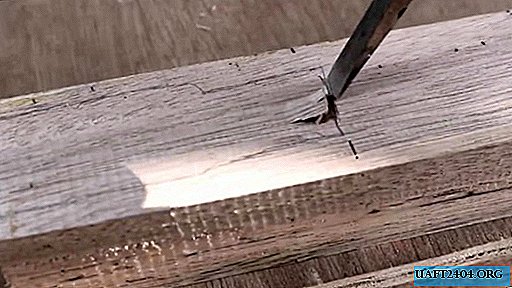
With a pencil or marker, we apply the contour of the drill with a slanting washer fixed in the cartridge to the wooden blank.

Then, first with a chisel, then with a chisel or stichel, we adjust the resulting internal cavity under the drill.
Repeat the operation on the second half of the workpiece for the body. Ideally, the cylindrical front of the drill should be tightly clamped between the two bars, and the chuck and washer rotate freely inside.
We select a bolt with a hemispherical head, with a rod diameter of 4 - 6 mm., A length of 25 - 40 millimeters.
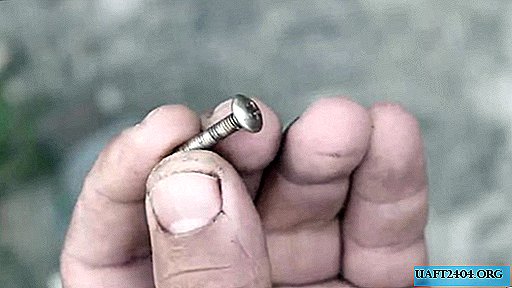
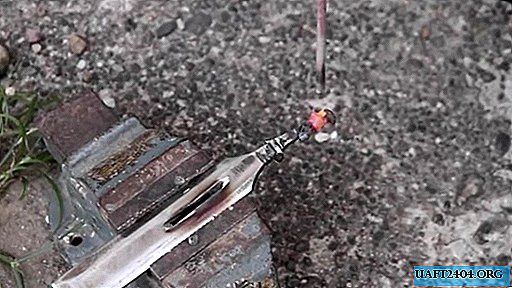
We weld the bolt and shank of the chisel, harden in water. After, on the emery, we clean the welds.
Then, in a wooden case, select the chisel groove with a chisel.
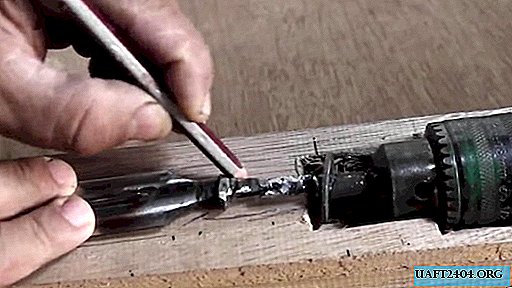
We put on a tool shank suitable for size and stiffness spring. As a support for the second end of the spring, we select a washer or nut. We are finalizing a wooden case under the support.
We fix the chisel blade in the body with two self-tapping screws or screws with washers. The chisel should have a free longitudinal stroke of about 10 - 15 mm., And not hang in the transverse directions.
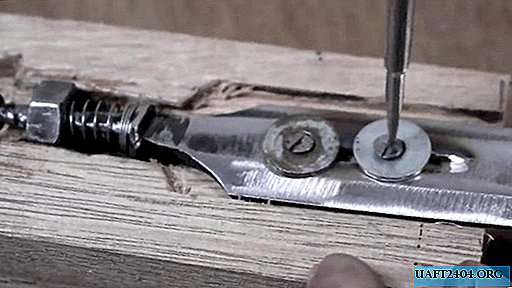
We install a drill in a wooden case. Check the operation of the mechanical part.
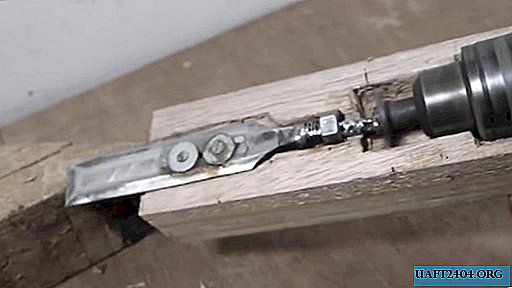
Everything works as usual!
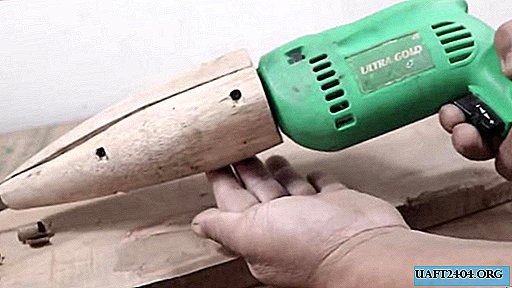
We fit the second part of the tool body. Then we ennoble the outer surface of the body. Remove excess material, grind the surface of the tree. We carry out the final assembly of the tool. Self-tapping screws securing the blade of the chisel, it is advisable to "put" on the glue. This ensures that in the future, the fasteners will not become loose during the operation of the tool.

We clamp the drill in the body of the resulting tool with four self-tapping screws or bolts with nuts installed in the reciprocal part of the body.
Do not forget about safety precautions, we work with gloves, we protect our eyes and face with a mask!
Turn on the electric mask. It works great, easily removes chips and goes deep into a wooden blank! It is possible that her appearance is somewhat rude, but she is comfortable and productive to work with.


With such an instrument Vovka from the cartoon about the far-away kingdom, as if he would make the old woman a new trough!

Share
Pin
Tweet
Send
Share
Send

