Share
Pin
Tweet
Send
Share
Send
Installation of a film floor in this case will look as follows:
1) Free all the space of the balcony from furniture.
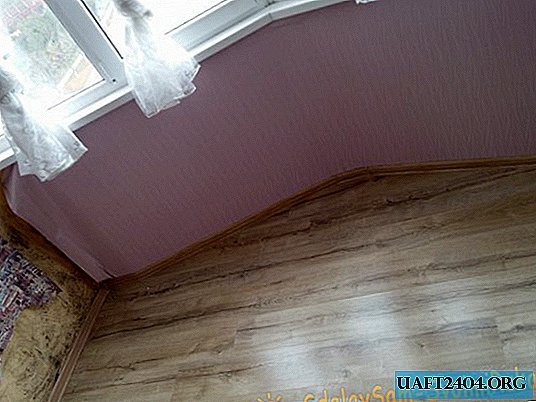

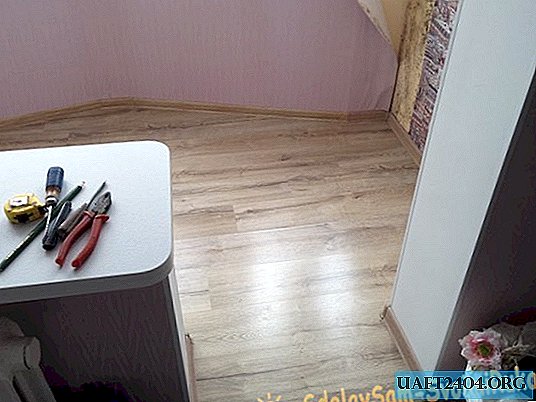

2) Remove the perimeter of the baseboard.


3) Carefully dismantle the laminate, signing each board, to facilitate its laying back.


4) Remove the entire substrate under the laminate.


5) Decide on the installation location of the socket. If the number of bands of the shoulder floor is small, you can take power for the thermostat from the nearest outlet. For clarity, mark the diameter of the future hole on the wall, as well as mark the floor sensor and the connecting eclectic cable.


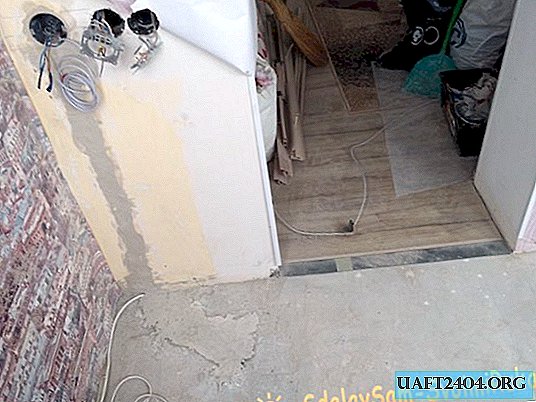
6) Drill the canvas of the desired size and the hole for the future thermostat. Get all the necessary wires. To speed up drying, coat the canvas with gypsum plaster.
7) Choose a specialized substrate for a warm floor, the thickness equal to the previous one. This is to be excluded when laying the laminate back to the formation of unevenness (transition from a thinner substrate to a thicker one). Spread the substrate over the entire free area. If necessary, connect its individual parts with reflective tape.


8) Lay the strips of the infrared captive floor on the free area of the room according to the instructions.


9) Connect all the strips to each other using a cable of the appropriate section. The thickness of the cable section in each case is selected individually, based on the total capacity of the underfloor heating system. Test the performance of the elements. Each of the bands should warm up well for 10-15 minutes.
10) In order to prevent moisture from getting on the electric elements of the warm floor, manufacturers recommend covering it with medium density plastic film.


12) The temperature controller is installed according to the attached wiring diagram.

13) After checking the operability of the underfloor heating system, you can start laying the laminate. It is stacked according to the standard scheme. At the final stage, install the baseboard.


It is possible to fully use the warm floor system immediately after finishing the installation of the floor covering. Initially, it is recommended to set the temperature on the thermostat above 30 degrees. And after warming up the room to a comfortable temperature (depending on the temperature in the street and inside it may take from several hours to several days), switch the thermostat to 23-27 degrees.
Share
Pin
Tweet
Send
Share
Send


