Share
Pin
Tweet
Send
Share
Send
Let's consider in this article a master class on making a wonderful teddy bear from an old purple beret.
For work, we will need to prepare the following:
- beret, strutting at the seams;
- ordinary threads of white color;
- needle;
- filler,
- limb wire
- buttons, pieces of matter;
- two beads for the eyes.
You will also need threads (for example, "iris") for the nose. Level of preparation for work: no higher than the simplest. The time required to make a toy is approximately 3 hours. Finished product size: about 30 cm.
Step one. We make a paper pattern and transfer it to the fabric.
Getting started with the usual procedure. We make a toy pattern, cut it out of paper and transfer it to our fabric.
This pattern will look as follows (below on the fabric all the details are drawn using a black special marker)
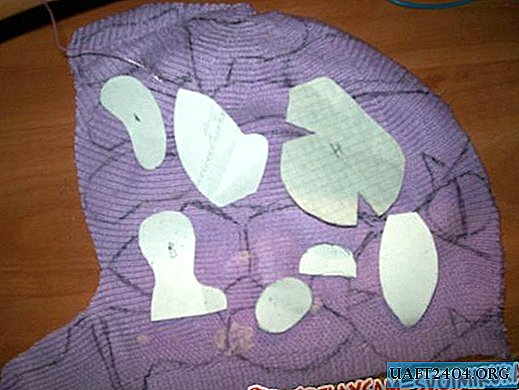
Carefully cut out all the details of the fabric. We lay them out, iron them.
Step Two We sew a head.
We will start our toy with making a cute teddy bear head. To do this, stitch together 4 parts. First, the details of the “face” are sewn together, at the bottom should be a bulge in the form of a face.
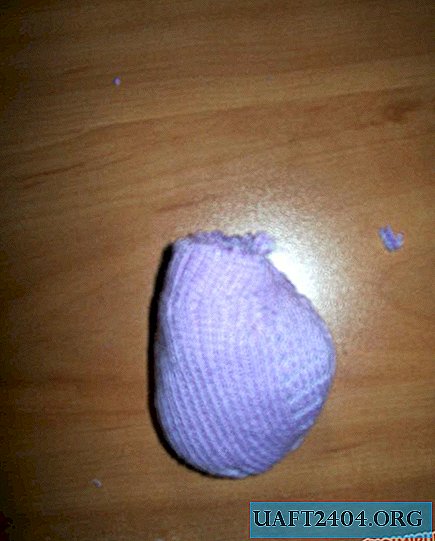
When this work is completed, it is necessary to start making ears. Two parts are stitched together, then twisted, a filler is added to the ear, and the ear from the front side is sewn to the muzzle, as shown in the photo.

Then 2 occipital parts are stitched together, they are sewn to the front side. The head is filled with stuffing.

It should be noted that it is better to stitch the parts manually (although the "virtuosos" of machine sewing can try to do all this work on a sewing machine).
Step Three We make the body of the teddy bear.
For the body, you need to take the two largest parts, flash the undercuts on them (two undercuts on each part of the future product), and then flash them together on the wrong side. The body is full. It turns out the following.
As a rule, the body is sewn to the head so that the recesses are on the front of the toy (they emphasize the bulge of the teddy bear’s tummy).
Step Four Forelegs
The paws are made of 2 parts, which we cut from the fabric 4 times. The two parts indicated are stitched and filled. It turns out these chubby legs are 5-6 cm long.

Step Five Teddy bear legs.
The legs are made more difficult, because you need to sew together not 2, but 3 parts. The third part is the circle, which symbolizes the foot.
Therefore, the upper part of the legs is first stitched, and then an oval circle is sewn in place of the feet. In the photo you can see such chubby legs, whose length is 7 cm.

Step Six We sew parts together and decorate the product.
After completing the preliminary work to create the toy, we sew together the head and body. It may turn out that the head will swing too much on the body, then the toy needs to be made a “spine” using a wooden or plastic stick. You can also hide the stitches with which we sewn the head to the body, decorating the neck of the teddy bear with a small pink bow. It should "revive" our teddy bear by gluing him eyes-beads. Here is the result.

Now we pass the wire into the places of the upper extremities and sew the hands. Our teddy bear now has hands that can bend in different directions.

We are doing the same procedure for the legs. Skipping the wire

and sew the lower legs.

Mishutka is almost ready. Now comes the time of fantasy: with the help of buttons, pieces of fabric and thread, you can decorate the finished product. That's what a cute little animal we got.

And for its manufacture nothing was needed: fantasy, a little free time, an old beret and a good pattern. Let creativity bring you real pleasure!
Share
Pin
Tweet
Send
Share
Send