Share
Pin
Tweet
Send
Share
Send
This is a simple job and will take no more than three hours, even for a beginner needlewoman. Also, embroidery will interest girls. Thanks to the coarse plastic canvas, children will understand where the thread goes.
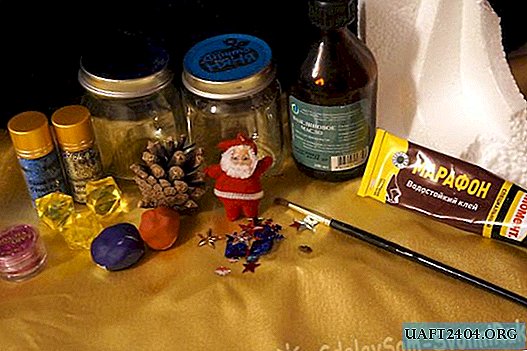
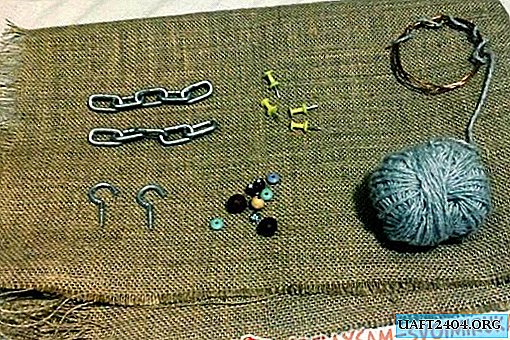
For embroidery you will need:
- plastic canvas;
- threads "floss";
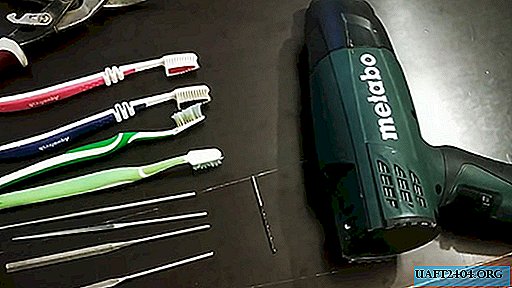
- needle with a wide eye;
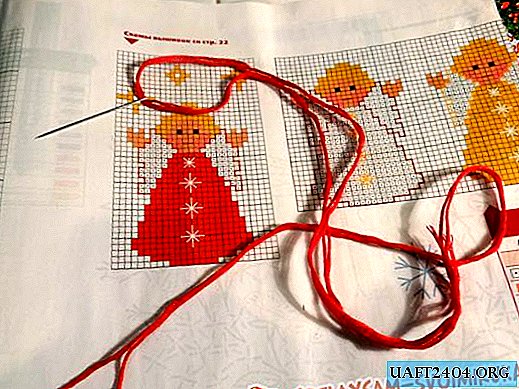
- scheme (attached);
- scissors.
The process of embroidery.
Prepare all the necessary items.
Canvas is a checkered fabric (in this case, plastic), convenient for counting embroidery (one where you need to check the pattern in the process of creativity).


The needle for embroidery is thicker than usual so that a thick thread enters the eye. For this work, we will fold the thread in half.

Carefully review the pattern and select the appropriate threads. Find the middle of the picture and count how many cells to the left remain until the end of the picture. Since this pattern is symmetrical, it will be easier to execute, and for children just starting to embroider, it will be convenient. Traditionally, you need to start the process of making a toy by moving from bottom to top, and also form rows from left to right. We will embroider with a cross to fill the entire section (unlike the tapestry seam, which can be embroidered on a fabric canvas, the seam is one way). First, prepare the thread. Cut the thread to the floss about “three cubits” long, fold it in half and thread the two ends into the needle. The eyelet at the end will serve to secure the thread on the wrong side.

Since the toy is made for a Christmas tree, it should look neat from the inside. To do this, we will embroider in rows, lay the stitches evenly. Start embroidering the first row with the leftmost stitch. Not every cross will be embroidered separately. First, go through the row of stitches from the lower left corner to the upper right, on the way back, go through the same row from the upper right corner to the lower left corner of the cell.


Make sure that the thread lies evenly, without knots, clings.


If the thread ends in the middle of the row, then start embroidering in the same direction with a new thread.
Do not tighten the stitches too tight: you will need to fasten the thread by passing it through the wrong seams.


Start each new thread with a loop at the end.
Having embroidered the little body of an angel, go to the face and hair. You will need threads of five colors: beige, white, reddish or yellow, red and blue.
At the end of the work, you need to carefully cut out the work, but so that the embroidery does not blossom.


Attach a rope to the angel and hang it on the Christmas tree, you can decorate the wall.


The height of the toy is quite large (10-15 cm), so the angel is also suitable for decorating live Christmas trees on the street: in your yard, school or in the park. Happy New Year!
Share
Pin
Tweet
Send
Share
Send