Share
Pin
Tweet
Send
Share
Send
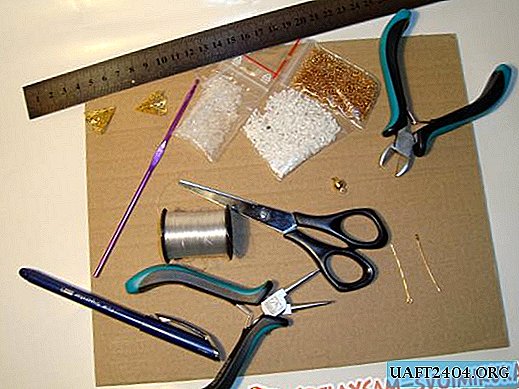
We will need:
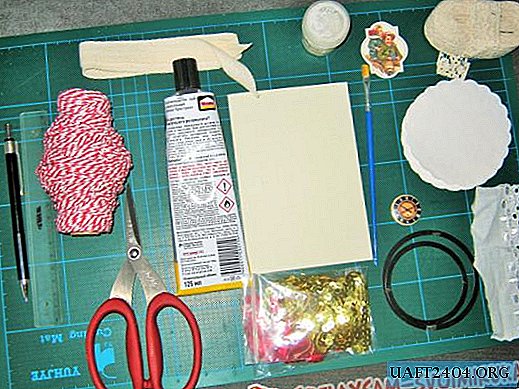

- A few sheets of paper with a picture (you can take paper for scrapbooking, from a children's set for creativity, or print it on an office or home printer, in the latter case, print more than 120 grams on paper);
- Round paper napkin (they are sold in stores with accessories for the holidays);
- A sheet of thick white cardboard (can be taken from a children's set of paper for creativity);
- Clay "Moment: Crystal", clerical glue is also suitable (it is better not to take PVA, it keeps the paper);
- Scissors or clerical knife;
- A piece of lace, richelieu or sewing;
- Sequins or colored beads for decoration;
- Pencil;
- Ruler;
- Round object, compass or ruler with circles;
- A piece of kiper or any other tape;
- Baking thread (it is also sold in stores with accessories for the holidays or pastry shops, can be replaced with twisted floss threads);
- A small picture with Christmas theme (it can also be printed or cut from an old postcard or book);
- White acrylic paint;
- Dry brush.
First, we make a blank for a double postcard from cardboard. Its size when folded is 10 by 14 cm. To do this, measure and draw a 20 by 14 rectangle on a cardboard sheet, cut and fold in half, draw a ruler several times at the place of addition.


Then we take a sheet of paper with a picture using a compass, a round object or a ruler with circles, measures a circle half a centimeter in diameter smaller than our napkin (to find out its diameter, simply measure the distance from edge to edge through the center).


We cut out the drawn circle with scissors, apply it to the napkin, if the size suits, then glue them with glue.

We take another sheet of paper with the main pattern. We attach a blank of cardboard to it, circle it along the contour, then cut it out.
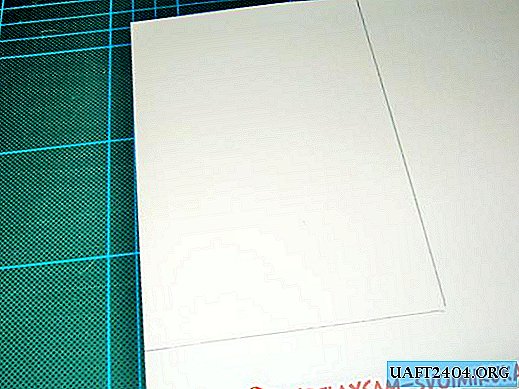
Using a ruler, measure 2-3 mm on each side, draw lines again and cut them out. We need that the substrate is 5 mm smaller than the workpiece.

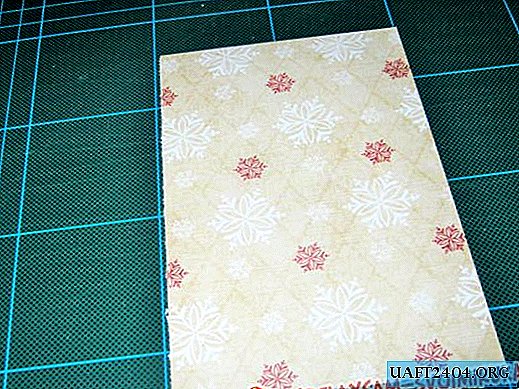
We glue the substrate to the cardboard so that on each side there is approximately the same distance to the edge of the workpiece.

Birch lace. We measure 10 cm, cut it off.

We take our base, measure its middle on the short side, make a strip of glue from top to bottom and glue lace there. Let’s dry a little.

Next, glue our circle with a napkin just above the middle of the postcard. Also let dry.

At this time, we randomly cut 4-5 small pieces of the remaining paper. Their size should be such that they fit on our circle and do not go beyond its edges.

We bend a little and tear off the edges with it. This will give a more vintage and New Year look.


Glue pieces of paper between each other in random order. The last layer will be our New Year picture.

We take the tape and thread, fold them.

We tie a neat bow.

We glue our blank with a picture in the center of the circle, we place a bow just below. That he grasped well, you need to press him with a strong finger and hold for about 1.5 minutes. This time is enough for the moment to saturate both the paper and the tape.

Cut off too long ends.

For decoration, glue a few sequins or colored beads to match the card.

Now the final step to emphasize the winter mood of the card. We take white acrylic paint and a dry brush. Dip the brush a little in the paint and make a snowy effect around the perimeter of the card and in a circle with a napkin. We give her a couple of minutes to dry. Postcard is ready!

Share
Pin
Tweet
Send
Share
Send

