Share
Pin
Tweet
Send
Share
Send
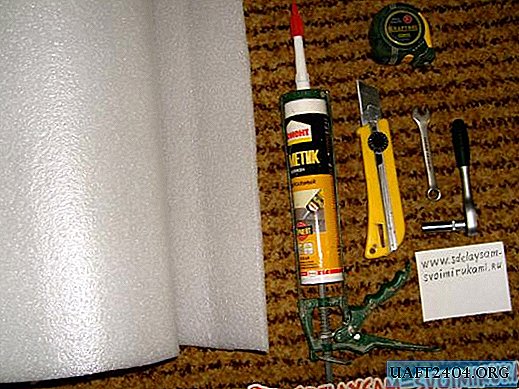
The following tools and materials were used:
1. Clerical knife, scissors, tape measure, wrench and head for 10.
2. Foamed polyethylene, thickness 8 - 10 mm., 1 mp (used as insulation and sold in any hardware store)
3.Sanitary silicone sealant.
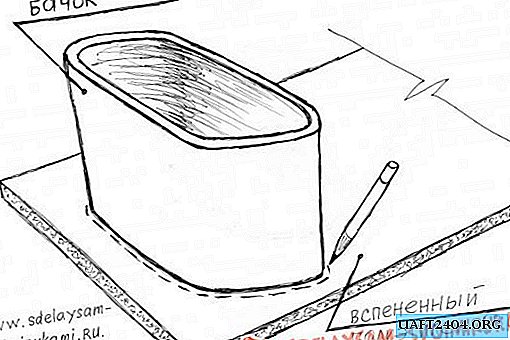
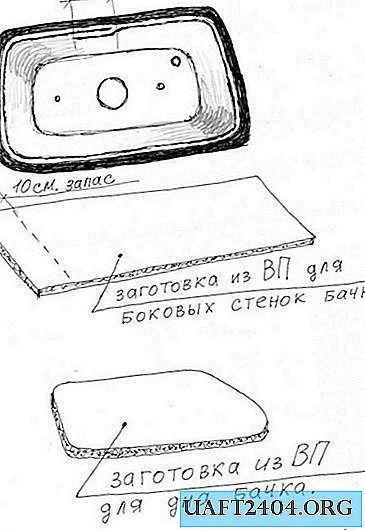
We start by removing the flush tank. We turn off the water supply, unscrew the hose that supplies water to the tank, using a wrench and socket (mounting options are possible), remove the tank from the toilet bowl by 10. Next, remove and unscrew all flushing equipment inside the tank. We wash the tank from the inside with any detergent, wipe it dry and set aside the tank to the side to dry well. Now it’s the turn to prepare patterns of our liner in the tank of foamed polyethylene (hereinafter referred to as VP). Lay out the VP on the floor, place the tank as it stands on the toilet shelf. Circle the bottom outline of the tank bottom from the outside, cut the workpiece with scissors.
Insert the bottom blank into the inside of the tank, and carefully pressing it around the perimeter, outline the VP again so that the VP lies on the bottom with a small gap in relation to the vertical walls of the tank. Next stage. We measure the height of the tank wall from the inside with a tape measure, from the cut bottom insert to the upper edge of the tank, subtract 2-4 cm from the resulting size. In order to be able to reinstall the top cover with a button during final assembly. Also, from the inside, we measure the perimeter of the VP workpiece for the walls, while making an arbitrary allowance (about 10 cm.) For a more accurate trim.
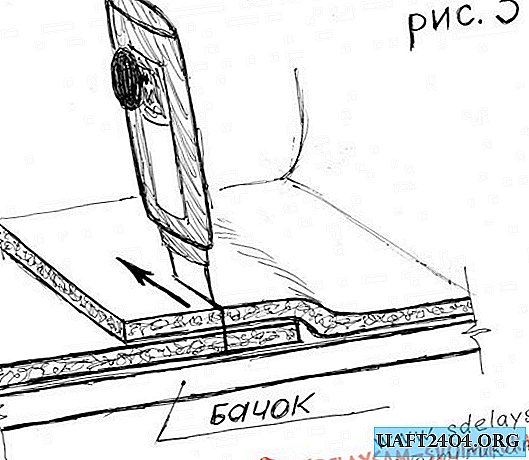
We put the VP for the walls inside the tank and, gently pressing it along the inner surface, use a clerical knife to make a through cut of the double VP at the junction.
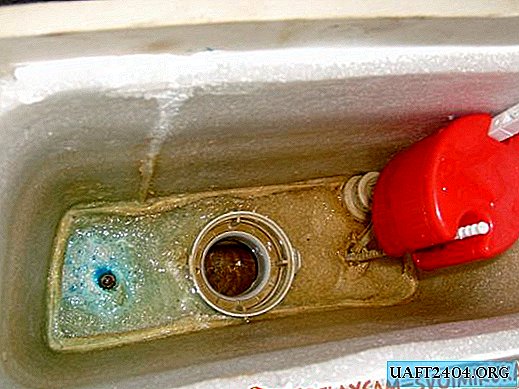
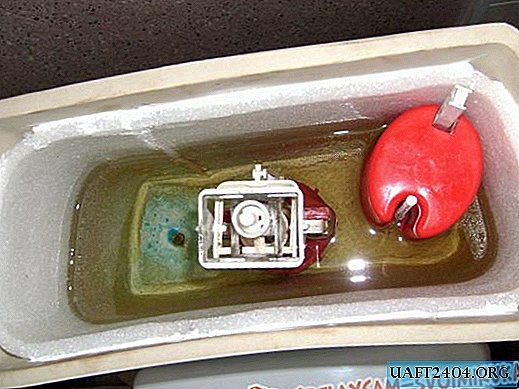
Next, we begin the assembly. Zigzag the sealant to the bottom of the tank, around all the holes for the fittings (no holes need to be cut yet!) And put the bottom liner from the VP into place. Be sure to apply a sealant around the perimeter between the bottom liner and the side walls. Then apply, also with a zigzag, sealant on the side walls of the tank and carefully insert and straighten the inner liner from the VP, be sure to pass the silicone along the vertical joint. Now that both parts of the VP are in place, thoroughly pass sealant at the junction of the bottom of the VP and the side, because the FULL SEAL between the liner and the tank is important to us. And now you have to use the toilet for a day with a bucket of water, the silicone should dry for at least 24 hours. But it's worth it. After the silicone has dried out, you can begin assembling and installing our insulated tank in place. Cut all openings for internal fittings with a clerical knife, before installation, pass sealant along the edges of the holes (do not forget about the mounting bolts) and install everything in its place, including the tank itself. Before starting the water, if possible, give the tank another 1.5-2 hours to dry the sealant. IMPORTANT! Adjust the water level below the glued liner! Not counting the time to dry, the work took 1.5 - 2 hours. That's all.

Share
Pin
Tweet
Send
Share
Send

