Share
Pin
Tweet
Send
Share
Send
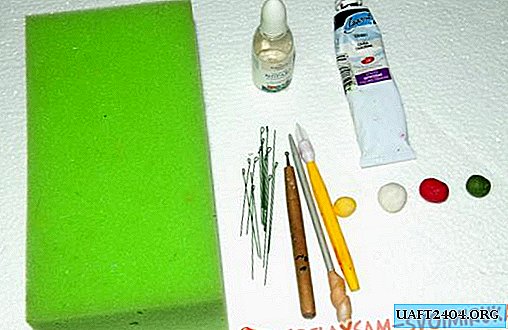
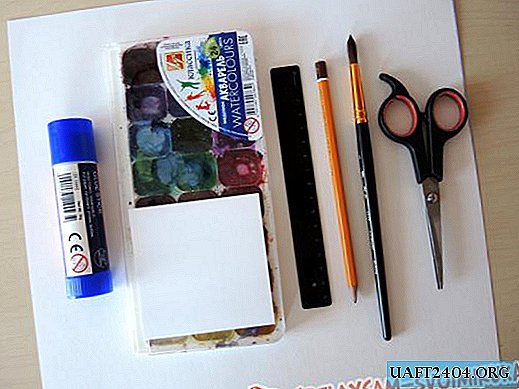
- Watercolor paper
- capacity with water
- brush
- Watercolor
- glue
- scissors
- pencil
- Ruler
- Plain paper
Let's get started. First, draw a diagram of our future box on watercolor paper. The dimensions of the squares are 7.5x7.5 cm (you can, of course, change them, as it will be convenient), the dimensions of the "lapels" are approximately 1.5 - 2 cm.

Cut the box and bend along the lines. The rough surface of the watercolor paper should be outside.

When folded, it will look as follows. You can glue it at this stage, or you can later.

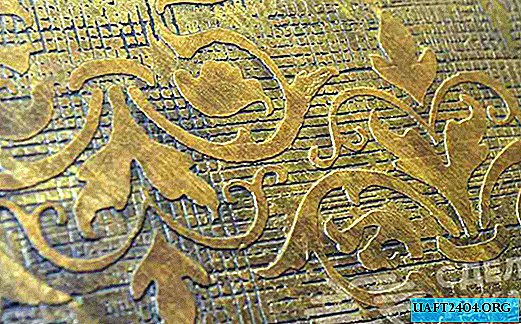
Now the fun part. Add some color. First moisten the top side of the box with water, then add a few drops of paint (you can use several colors, but no more than two or three, otherwise everything will mix into one unsightly dirty color). Moisten side surfaces with water too. It is necessary that droplets of water begin to slide down, and then also add paint to them.

When everything is ready, leave the box to dry.

Now we take up a simple paper, moisten it with plenty of water and add a couple of drops of paint (also no more than two or three colors). Leave the paper to dry.

When the water evaporates, we cut out butterflies of various sizes and several small flowers from paper.

And the last: we glue butterflies and flowers on the box on all sides.

Glue rhinestones or beads in the middle of the flowers. That's all. A box for a small gift is ready, and it took just a few minutes to make it.

Wish you all the best!
Share
Pin
Tweet
Send
Share
Send