Share
Pin
Tweet
Send
Share
Send
First of all, we list all the necessary tools and consumables:
1. Board 10 * 2.5 cm.
2. Rail 3 * 2.5 cm.
3. Fasteners (self-tapping screws of various lengths)
4. The grid is welded and breakdown with a cell from 0.5 * 0.5 to 1 * 1 cm.
5. Tools (circular saw, jigsaw or hacksaw, drill, screwdriver for convenience, hammer, stapler, use of additional tools is possible)
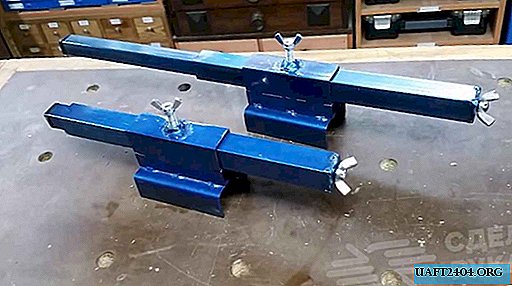
The frame can be made both from wood and from a metal square pipe. Metal is more durable and hygienic.
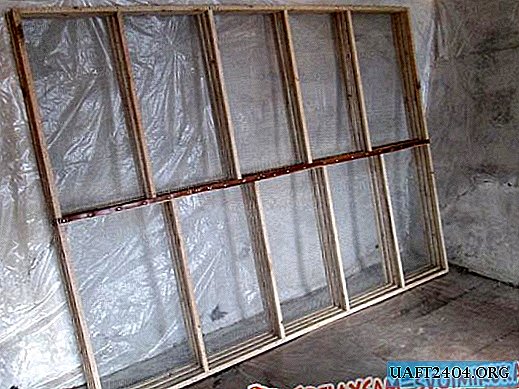
Let's start from the bottom; these are four identical mesh cloths on a solid frame. Each of them will be either a floor or a ceiling for "kids", forming 2 tiers. Dimensions 195 * 260 cm. The length can be changed, but in width the size larger than the specified is not strictly recommended.

In this case, the welded mesh is fastened with a stapler with inversion at the ends with the edge and in the middle. It is very important to make the stretch as effective and durable as possible. A more reliable option from sagging will be the breakdown grid. It will provide increased rigidity.

As a precaution, we treat joints in the middle with protective material so as not to injure the paws of chickens, for example, with a strip of linoleum.

We make slots for the racks in the grid in the same places and lay all four cloths with the grid up on the prepared floor. It is worth taking care of the walls so that there are no drafts.

We insert the racks all the way into the floor in the prepared slots, and fasten them to the ceiling strictly vertically in level.

The next step will be fixing the ceilings and floors. The overall width of one tier was 58 cm. There is a minimum of 22 cm between tiers, however, if you use pallets to collect the litter, which will undoubtedly facilitate the removal of the litter, then less is possible.

The distance between the floor of the lower tier and the zero floor is 52 cm.

We sew sidewalls. Bottom two boards of 10 cm, top transoms on hinges.

Our chicken house is ready. It remains only to make wiring for 3 - 5 bulbs for each level.

We put newspapers, burlap or plastic film on the ceiling of the lower level and on the ground floor, for the convenience of collecting litter.

For a comfortable life for the yellow-eared, you can build a heat exchanger by fencing 60 cm on one side with a separate box.

Practice has shown that the temperature in the heat exchanger is only two degrees higher, i.e. if there are no drafts in the room, then you can do without it.

The design, if desired, can be disassembled and installed in another place.

Front lid inside the tier.

Heat exchanger side view.

Do not forget about safety when making wiring for light bulbs. The cartridge must not come into contact with combustible materials and be at a distance of 10 cm from them.

Each tier of such a chicken house can withstand up to 100 kg of live chicken weight.

The chickens will be delighted!
Share
Pin
Tweet
Send
Share
Send