Share
Pin
Tweet
Send
Share
Send
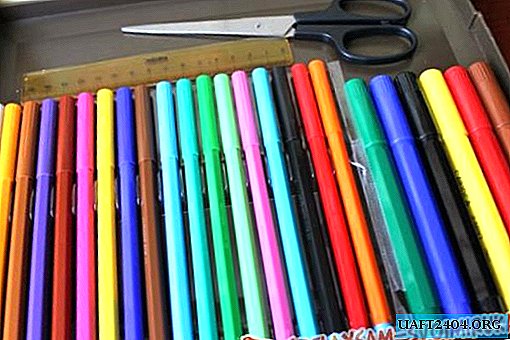
Getting ready for work:
• pliers
• pliers
• side cutters
• shvenzy 2 pieces
• round large orange beads 2 pcs
• diamond-shaped large orange beads 4 pcs
• rectangular large orange beads 4 pcs
• carbine
• connecting rings with a diameter of 5 mm
• round faceted black beads (I have different sizes, you can take all the same ones)
• hugs
• chain
• pins with a loop on the end
• pins with a round hat

Let's start with making earrings. To do this, take a pin with a loop at the end, put a hug on it, a black bead, again a hug and bend the pin with your fingers. Hugs play an aesthetic role, in this case they do not carry a practical function. Therefore, if you do not have them, you can safely do without them.

Cut the pin with side cutters, leave about 1 cm.
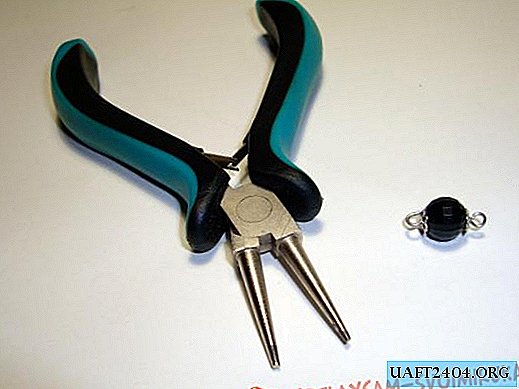
We make the second loop. With round-nose pliers, grab the edge of the pin and bend in the direction opposite to the one where you bent the pin. Do not completely close the newly formed loop; we will close it a bit later, in the process of assembling the earrings.

We do the same with the second bead for the second earring.

We repeat the procedure for two rhomboid large beads with the only difference being that for these beads use pins with a round hat, and not loops.
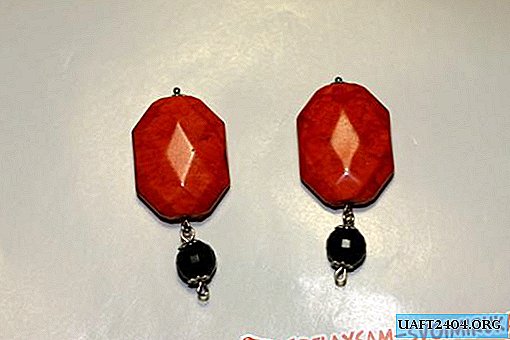
Using ajar loops, attach the black beads to the orange ones, tightly close the loops with pliers.

We take the connecting rings that will help us attach the earrings to our earrings. Fasten, tightly close the rings. 5 minutes have passed, and the earrings are ready!

We pass to the beads. We string black beads on the pins and make loops with pliers. Remember that we do not close the loop until the end. I didn’t put hugs on all the beads. You do as you wish. As you like more. For one of the beads use a pin with a round hat.

Do the same for round orange beads.

And for the rest of the orange beads.

We lay out all the beads in the order in which we will collect them.

We begin the assembly using those loops that we left ajar. You can start from anywhere (from the edge, from the middle). I start in the middle. Do not forget to close the loops of the pins tightly so that the beads do not creep out during the wear process.

We continue assembly, we fix round beads.

Go ahead and fix the remaining beads.

Now with the help of connecting rings we fasten the chains to the edges of the beads. I have one chain 2 times longer than the second. You can make them the same if you wish.

To the chain that is more authentic, with the help of a connecting ring I fasten the last black bead, which I planted on a pin with a round hat. This is not necessary, it will still be on the back and it will often not be visible, but it seems to me that it gives some kind of finished look to the product.
We attach a carbine to the second chain using a connecting ring.

Due to the fact that the first chain is long, I can adjust the length of the product.

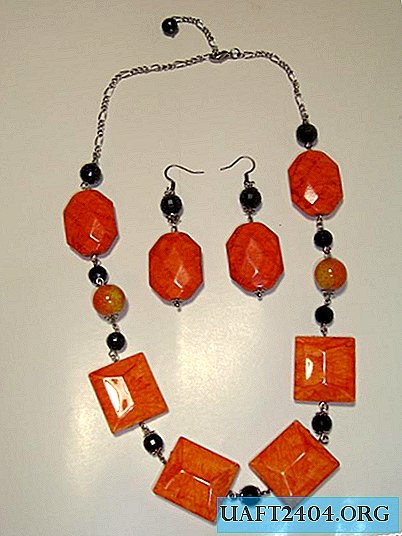
Our kit is ready!
Share
Pin
Tweet
Send
Share
Send