Share
Pin
Tweet
Send
Share
Send
Materials:
Pronty watch blank
• Stamperia materials: Primer primer
• Allegro acrylic paint (6th white)
• Adhesive for decoupage Colla Velo
• Rice paper
• Two-step craquelure composition KEOZM
• Purpurin DP04B
• Varnish in aerosol KES05
• Matte topcoat
• Synthetic brushes
• Sponge.
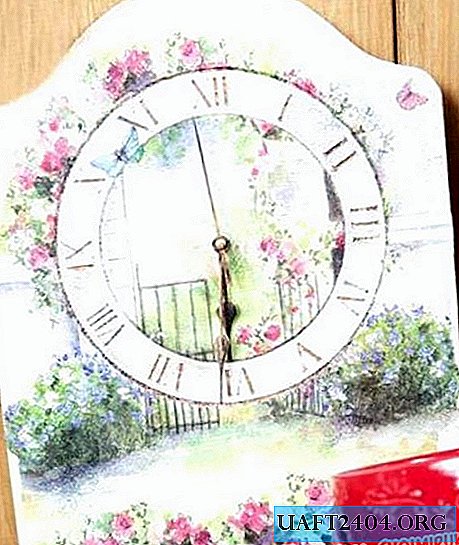
How to decorate a wall clock.
1. Before starting work, we remove the clock hands from the Pronty blank. Apply a primer layer of Primer from Stamperia to the workpiece.

2. Next, apply a layer of white Allegro acrylic paint. It will give our surface greater brightness. Let the paint dry completely.
3. Apply the first step coat of Crackle Medium Crackle Medium from Stamperia. We are waiting for drying.

4. After the layer dries, apply the second step of the craquelure composition. We wait until decorative cracks appear. After the second composition has completely dried, we rub a dark brown gold powder - purpurin into the cracks. We also overwrite the numbers. We use a dry brush for this.

5. Remove excess purpurine from the surface with a damp cloth.

6. We fix purpurin on the surface with a finish varnish in an aerosol. Let it dry.

7. Take a pre-prepared rice paper for decoupage and apply it to the clock, choosing the best composition. Carefully tear off the excess paper with your hands. Cut the middle under the dial.

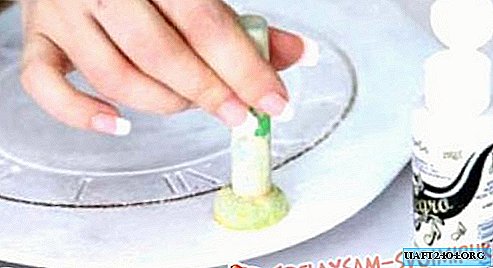
8. Apply Colla Velo decoupage adhesive to the watch surface. Put rice paper on top. Gently press it on top and also apply a layer of glue. We use a flat synthetic brush for this, ironing it with paper from the center to the edges, smoothing the folds and expelling air bubbles.

9. At the center of the clock we also glue a piece of rice paper so as not to disturb the drawing.

10. In order to protect the surface from dust and moisture, it is necessary to apply a finish varnish. We use Stamperia Vernice Protettiva Finish with a matte finish. We apply several layers with an intermediate drying of each. If desired, the surface can be sanded with fine-grained emery paper before applying a second coat of varnish. We insert the arrows, which previously we tinted a little. Done!

Share
Pin
Tweet
Send
Share
Send